Guide to Setting Up Uptime Monitoring
TL;DR
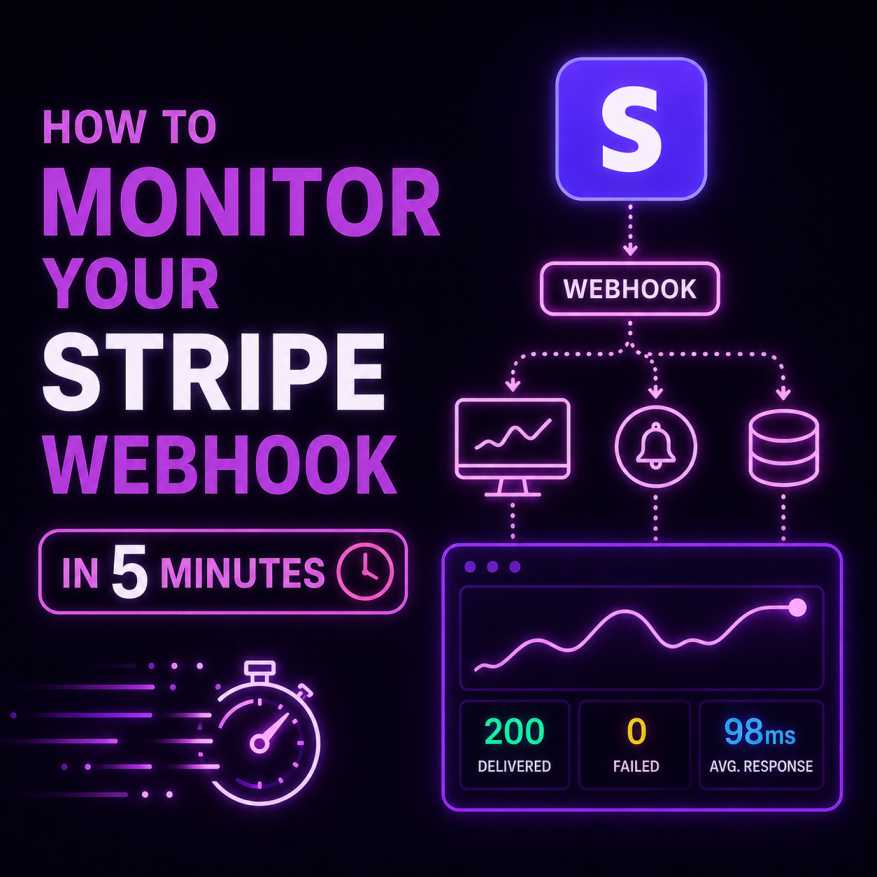
Setting up basic uptime monitoring shouldn't take all day or require complex development work. By using an external monitor, you can point a testing node at your URL, choose how often to check it, and set up your alert preferences. This ensures that if your host encounters a hardware crash or a bad deployment script, you get pinged on your active team channels before your users start hitting error pages.

Overview of the Uptime Dashboard
The Uptime Dashboard provides a comprehensive view of all your uptime checks, making it easy to quickly identify any issues and ensure your website is always running smoothly.
Step-by-Step Instructions to Create a New Uptime Test
1. Access the Dashboard:
- Start on your main Uptime Dashboard to get an overview of your existing uptime checks.
2. Create a New Test:
- Select a project where you want to set up the uptime monitoring.
- Click on “Start” to begin creating your new uptime test.
3. Fill in Uptime Details:
- Name Your Test: Assign a descriptive name to make it easy to identify each test later.
- Enter the URL: Input the specific URL or endpoint you want to monitor.
4. Configure Request Settings:
- Request Method: Choose the appropriate HTTP method for your endpoint, such as GET or POST.
- Schedule Interval: Set how frequently you want the test to run. The default interval is every 5 minutes, but you can adjust this to suit your needs.
5. Define Fault Conditions:
- Expected Response: Specify the expected HTTP status, like 200 for a successful response. This ensures you receive alerts if the status differs from what’s expected.
- Monitor Status Range: Optionally, select a group of HTTP statuses to monitor and track a range of potential responses.
6. Activate the Test:
- Click “Save” to activate your uptime monitoring.
- Your test is now active, and you’ll be notified if any issues arise with the monitored page or endpoint.
By following these steps, your uptime monitoring will keep a close eye on your website’s performance, alerting you to any problems promptly.
Key Takeaways
- Multi-regional verification checkpoints eliminate localized internet routing blind spots by validating your server accessibility across independent global networks.
- Immediate alert integrations on fast team messaging channels like Slack completely bypass traditional, slow email notification workflows.
- Proactive infrastructure visibility lets you spot response latency spikes and minor performance dips before they roll into a complete server system crash.

What is the ideal check interval frequency for standard website uptime monitoring?

One minute is the recommended standard. Running tests every 60 seconds gives your team an immediate heads-up the second your web infrastructure drops, allowing you to debug and deploy patches before search engine crawlers index the error or your user conversion data takes a hit.